You know how some people stockpile canned goods, toilet paper and medical supplies in case zombies or some other imaginary monster from the closet attack? Well, if that ever does happen, my major contribution to the cause will be ensuring everyone at least smells pretty before they go to battle. See, I stockpile beauty products the way more prepared people store up essential items. Hey, if I’m going to be eaten by zombies…there is no good way to end that sentence.
The point is, I have a ton of bath and beauty products under my sink. I like to hit the good sales and stock up! Of course, everything is such a disaster that I have no idea what I really need, so I stock up on, say, lotion but completely forget to buy shampoo until I’m digging through old travel bags looking for enough to wash my hair one time before heading to the store!
Excuses, excuses
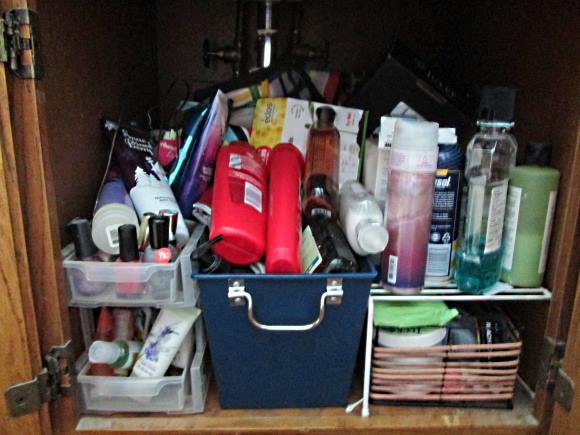
I actually have a pretty roomy storage area under my sink area, so there really is no excuse for it to be messy. Alas, messy it was, until I realized that I needed to organize something for this post, and the weather didn’t cooperate for my big garage clean-out. It’s kind of sad that I only get around to organizing when I actually have to do it for a post. Thank goodness for Mom Central and the Brother P-Touch campaign, otherwise my bathroom cabinets would still look like this:
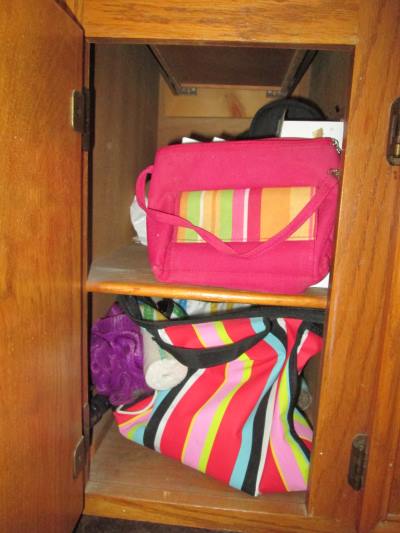
and this:
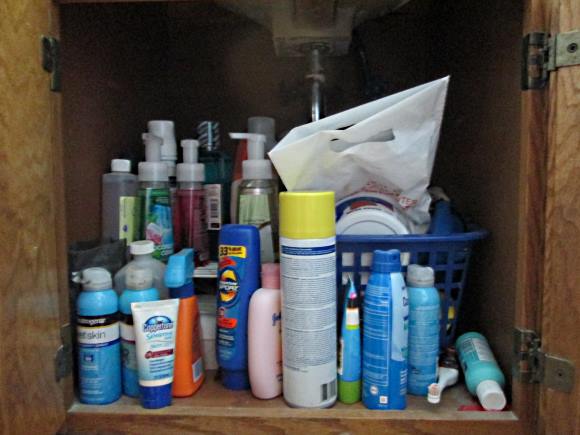
and (yes, there’s more) this:
Uh, don’t look too closely at the pictures, okay? I’m not sure if I remembered to hide all the embarrassing items that can be found under a bathroom sink. You’ll notice that, at some point, I did make a vague effort at organizing, as I already have all the little bins and baskets!
How to get your beauty products under control and looking as pretty as they’re meant to make you look
- Pull everything out! This is pretty much always the first tip in conquering clutter. The only way to organize it is to make a huge mess that you absolutely have to clean up.
- Throw out old makeup, almost-empty bottles that have been sitting there for two years, and the stuff that you really didn’t like. I had an almost-full bottle of a body wash that gave me a horrible rash all over my body. Why did I keep that? Who knows? Maybe I thought I’d magically stop being allergic to it one day! We’ll never know because I came to my senses and tossed it, along with half a garbage bag full of other stuff.
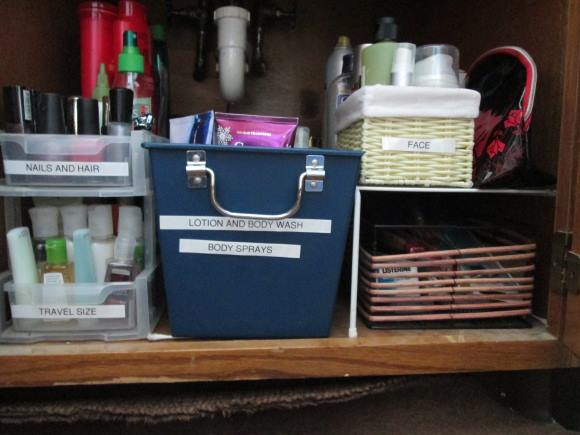
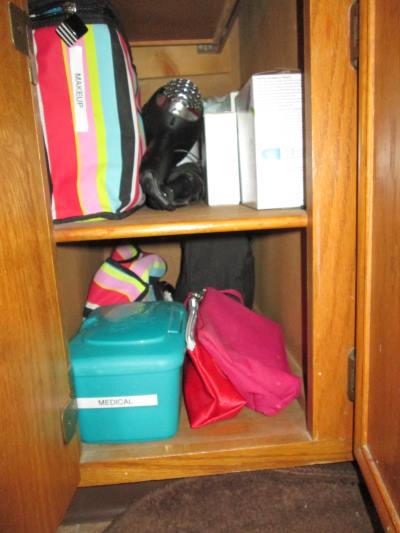
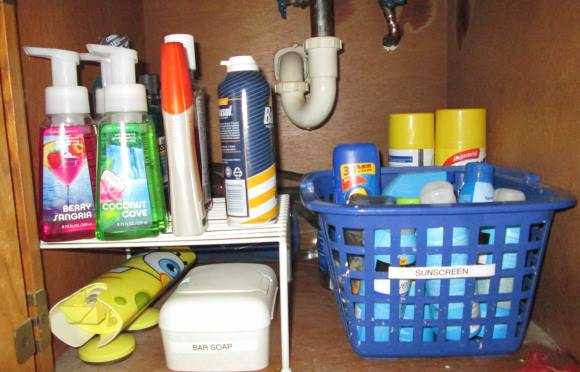
- Sort everything into logical categories. My major categories were: travel-sized stuff (all those mini lotions and samplers I’ve picked up or accumulated), hair products, nail products, lotion and body wash, medical stuff, and sunscreen. Hey, I have a lot of sunscreen, I’m a very pale person!
- Organize your products by groups into containers that fit the amount of stuff you have in that group. Label the containers. Don’t you just love labeling stuff? It’s fun! Seriously, it’s my favorite part of organizing.
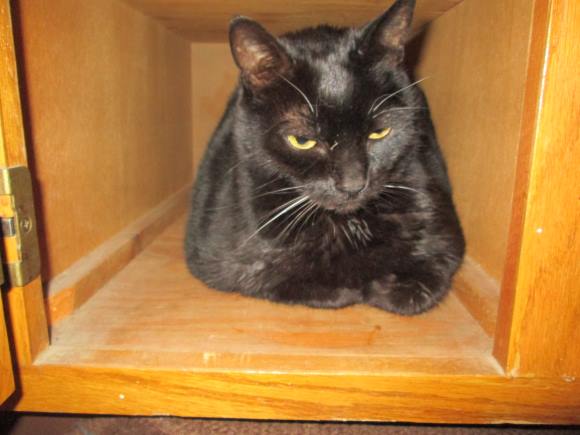
- Remove the cat from the empty cabinet. Ignore her howls of protest. Don’t label the cat. She won’t appreciate it.
6. Hurry up and put everything back before the cat climbs back in.
Check out my ‘after” pictures. Much better, right? I probably still have too many bath and beauty products though, but I got rid of as much as I could! Everything else is essential!
I labeled everything using my Brother P-Touch labeler. It’s so simple and fun to use! Check out more great organizing tips from Brother, Mom Central, and other amazing bloggers on the Brother P-Touch Facebook Tab.
I wrote this review while participating in a campaign by Mom Central Consulting on behalf of Brother P-Touch and received a product sample to facilitate my review as well as a promotional item to thank me for my participation.




Omg this is so funny, because its the very thing I needed! Just this weekend I went to the container store and purchased some containers to organize my bath and body/ make up stuff,lol! Thanks for the ideas gonna pull out my labeler too.
Have fun organizing! Labeling makes everything more entertaining, lol.
Hhaha love the cat photo!! I need to go and organize my stuff, it is a mess :-/
The cat drove me batty, lol! She got really ticked off when I removed her from the cabinet. She thought I did it all just for her.
This is something I’ve been working on for a few weeks! Love that p-touch!
I just could not leave your site before suggesting that I really loved the standard information a person supply in your
visitors? Is gonna be again often to check out new posts
It’s going to be finish of mine day, but before finish I am reading this enormous piece of writing to increase my knowledge.