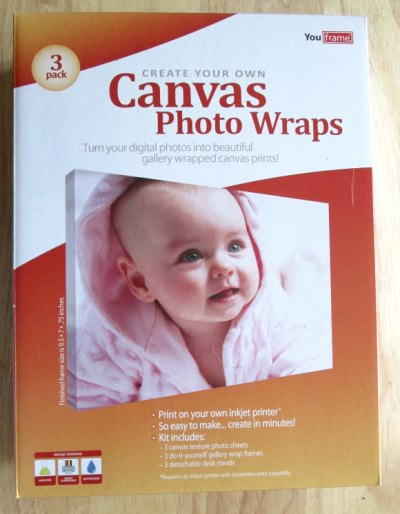
Pictures of children and grandchildren are one of the top Mother’s Day gifts on just about any mom’s wish list. Sure, you can give her a nice picture in a pretty frame, but why not go for something a little more unique? I had the chance to try out Canvas Photo Wraps by YouFrame for this post. They’re a really cool way to give a photo gift for Mother’s Day that stands out, and they’re surprisingly easy to create!
Make canvas photos on your home printer
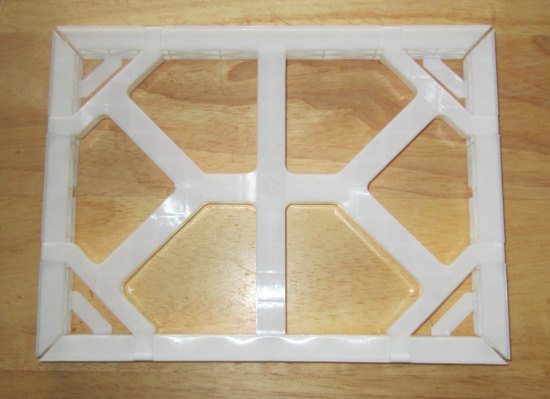
The Canvas Photo Wraps kit comes with enough materials to create three really cool wraps, including three canvas sheets and three frames. It also includes and double-sided acid-free tape. Now, you all know how horrible I am at anything that even resembles a craft, right? In case I need to reiterate, basically, your chihuahua (should you happen to have one) can create better DIY projects that I can. When I say something is easy to create, it means it’s really super amazingly easy to create. The hardest part of this project is selecting the picture you want to use!
I went with a photo of Jacob, but I’m not showing it because it’s a surprise for my mom and it’s also a professional photo, so I don’t want to get in trouble for posting it online or anything. Once I chose my picture, all I had to do was put the canvas paper in the printer (make sure you put it in the right way, only one side is printable), then print it! Again, make sure you’re going with the correct settings. Borderless pictures work best, and set your photo printing program to print on the whole sheet.
Tip: Although you can choose any photo you want, the edge will be wrapped around the frame, so you won’t be able to see it from the front. Go with a photo that has your subject towards the middle and just background stuff along the edges.
Assembling your awesome new canvas photo wrap
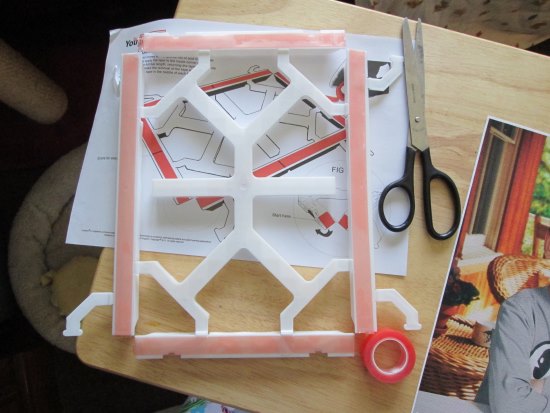
Once you’ve printed your picture, it’s time to assemble the canvas photo wrap! It took me less than two minutes to put it together. Start with your frame laying on a flat surface. See how I have it in the picture below? Do the opposite! That’s not right. It’s upside down. Those little tab-looking things in the corners fold out.

After you’ve lined up the tape, just peel off the red backing. Now, the hardest part is lining up the picture. If you have no hand-eye coordination like me, you’ll want to be very careful here. Don’t press down on the picture until you have it exactly where you want it. As long as you don’t press, it’s relatively easy to remove and realign. Once it’s right, press down, fold the corners in, and snap it shut!
I’m not showing you my finished product, but I did receive a really cute demo print to share. This is what your finished product will look like:
That’s pretty much it! It’s ready for hanging, or you can use the included table top stands to make it a standing picture. These Canvas Photo Wraps make awesome Mother’s Day gifts. I still have two canvas sheets left, so I’ll make myself one, then save the last to make a cool photo print for Jacob’s room.
Buy them: You can find Canvas Photo Wraps by YouFrame at OfficeMax, OfficeMax.com or BJ’s Wholesale Club for $$29.99 for the three-pack. Check out this video to learn more and see a live demo.


